Each type of wallpaper involves its own technology of pasting. Initially, you need to understand the features of the material. Vinyl wallpapers are a varied texture based on non-woven or paper. They are chosen by consumers not only for their variety of designs, but also for their ability to hide various defects. The material is heavy, therefore, before gluing vinyl wallpapers, you must carefully study the instructions.
Content
Features of the choice of material
Despite the fact that vinyl wallpapers are universal and suitable for decoration of any room, some subtleties should be taken into account when choosing them. First of all, pay attention to the type of room:
- for the kitchen, a smooth structure is chosen, since it is easier to wash off the accumulation of dust and fat from it;
- silk-screen printing is preferred for the living room or bedroom, as it is protected from burnout;
- the entrance hall looks better if the surface has a relief structure.
These options are one in one. They are easy to clean and maintain their original appearance for a long time.
Nuances of surface preparation
Despite the advantages of vinyl wallpapers, including their ability to hide wall imperfections, they themselves are heavy and require high-quality surface preparation. Before you glue vinyl-based wallpapers, The following steps must be completed:
- Initially remove the old material. The wallpaper is moistened with water and removed with a spatula.
- Check how good the surface is. To do this, stick a tape of adhesive tape and abruptly tear off. If there are traces of stucco on the adhesive basis, then the finish needs to be updated.
- Level the walls with putty. After it dries, the surface is treated with a special mesh. Then apply a primer to increase the degree of adhesion. Surfaces are treated with antiseptic agents.
- If the walls have a smooth or plastic structure, then it is necessary to treat the surface with abrasive materials, for example, sandpaper.
One of the important conditions - wallpapering is carried out in a room with a complete absence of drafts.
Preparing Vinyl Wallpaper
Preparation for pasting begins even with the purchase. Rolls must be checked for belonging to the same batch and for a matching picture. If the production batch is different, then the material may have a different shade and not coincide in size.
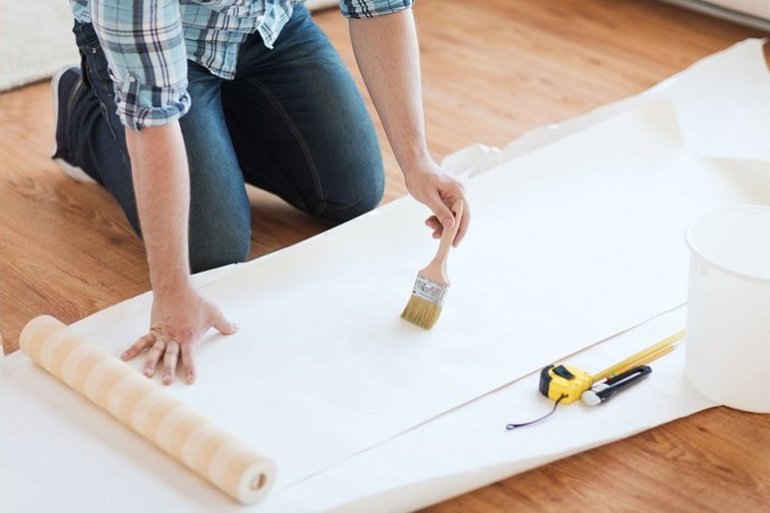
Just before pasting, strips begin to be cut.. Measure the height of the wall and cut off the strip a few centimeters longer. Then they begin to prepare the following strips, selecting a drawing. This is best done on the floor. After cutting several strips, you can begin the process.
Glue preparation also occupies an important place.. The composition of the adhesive mass for a vinyl-based material is different from others. It has an impregnation that protects the walls from fungi. After the glue is prepared, it retains its properties for 10 days. The mixture is absolutely safe for human health, has a high degree of adhesion.
Dissolve the glue in strict accordance with the instructions on the packaging. The composition is well mixed and left for some time to swell. After applying glue to the wallpaper strip, 5 minutes are given for impregnation, paying attention to the joints.
Gluing technique
Sticking wallpaper on even walls is not difficult, but in any room there are nuances that can be dealt with if there is some dexterity. There are some secrets on how to properly stick vinyl wallpapers in different places of the room.
Pasting walls and corners
The walls begin to paste over from the window. With this technique, light falls in a special way, and the joints are completely invisible. Step-by-step instructions are as follows:
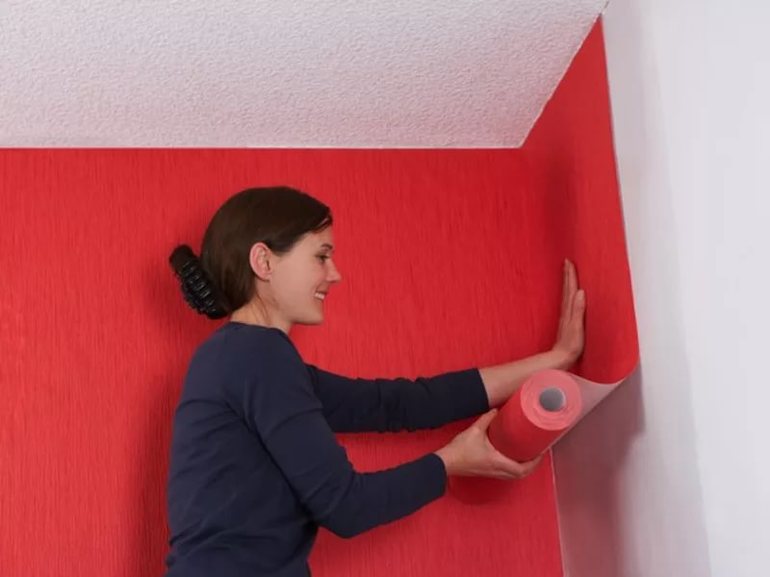
- By means of a vertical level, a line is drawn on the wall along which the first strip will be aligned.
- The upper edge is applied to the ceiling level and the strip is aligned along the marked line.
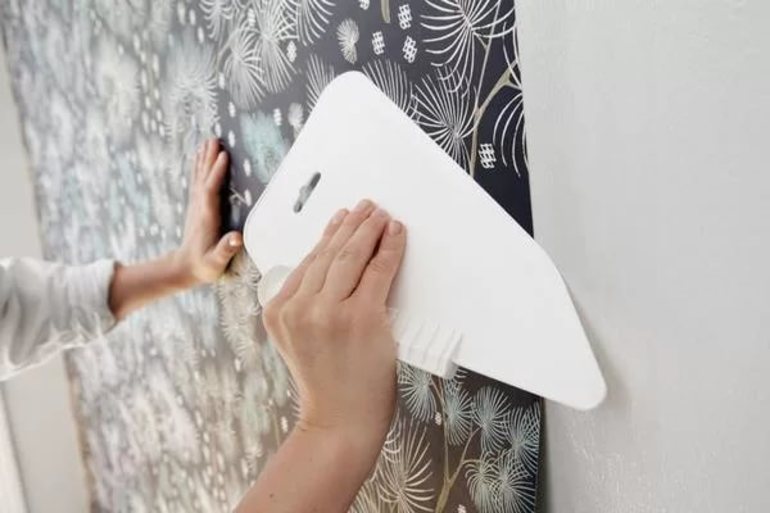
- The canvas is pressed against the wall with a brush and with light movements from the middle to the edges expel air bubbles.
- If excess glue appears with the air, wipe it off with a clean cloth.
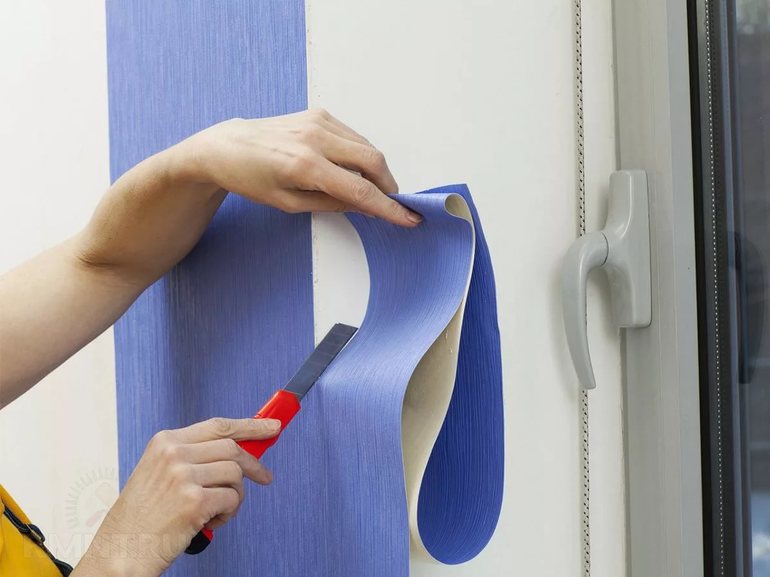
- Excess allowances at the ceiling and floors are cut with a sharp construction knife.
The first obstacle that occurs when wallpapering is the corners of the room.
You should not combine two bands in this place. The angles are often uneven, so matching the seam is impossible to guarantee. It is recommended to stick a strip with a bend at an angle of about 5 cm. Then, next strip is glued next.
Pasting in hard to reach places
The most problematic area is space behind the battery. If a new model of products is installed in the apartment, then it is better to agree with the master on the temporary dismantling of the structure for the time of gluing.
If the room has cast-iron appliances, then the wallpaper is cut 20 cm longer than the free space in order to stick it conveniently in a hard-to-reach place. That part of the wall, which is visible between the ribs, is painted over in tone with the wallpaper.
When sticking the placement area of switches and sockets, the upper panel is dismantled, having previously de-energized the apartment. After the strip is glued to the wall, a hole is carefully cut out at the place of application on the switch or outlet, and then the panel is put back into place.



Alas, no comments yet. Be the first!