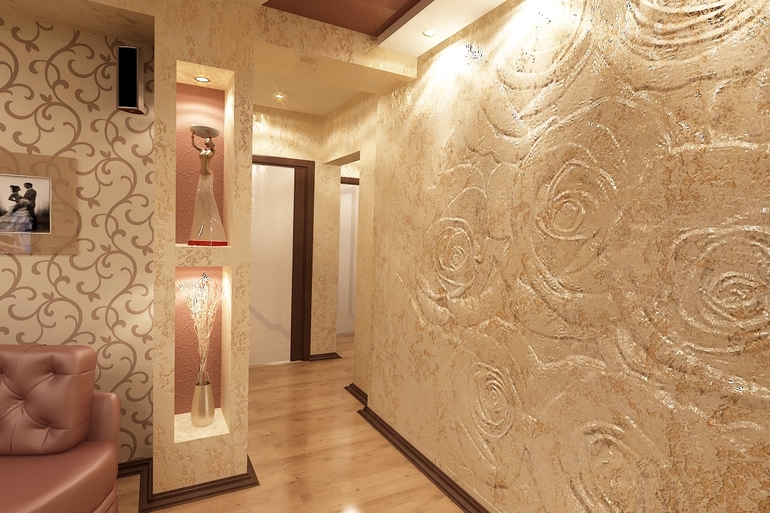
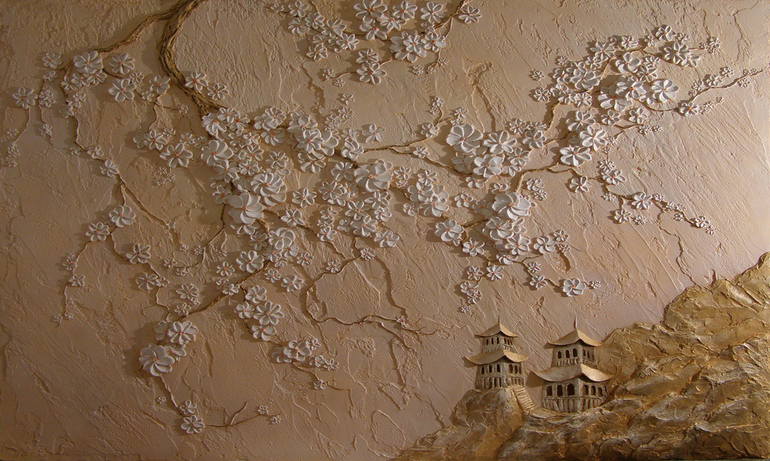
To align the walls and at the same time create a textured surface, decorative plaster is performed. With your own hands, such work is done easily, you only need to know some subtleties. A layer of solution is applied, then a pattern is created, which is repeated in a certain order. Sometimes figured artistic elements are formed from the finishing mass, which stand out against the general background and then are painted.
Content
Work sequence
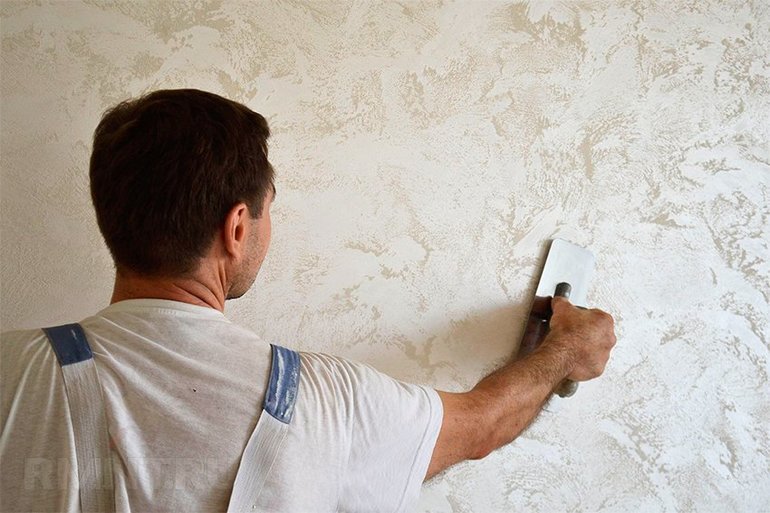
The application of decorative plaster is carried out in several stages. The wall is preliminary inspected, tapped to detect weak and exfoliating layers that are removed.
Such places aligned with cement-sand mortar. The rest of the area is cleaned of old whitewash, paint, wallpaper, cracks are embroidered and filled with mortar.
Surface leveling with starting puttywhile using plaster mesh in the thickest places. For alignment, sheets of drywall are used, which are glued to beacons or put using a profile. The finished surface is primed to improve adhesion.
Solution preparation
For decorative plastering of the walls, mixtures from the store are used, which from the bucket are simply superimposed on the spatula.
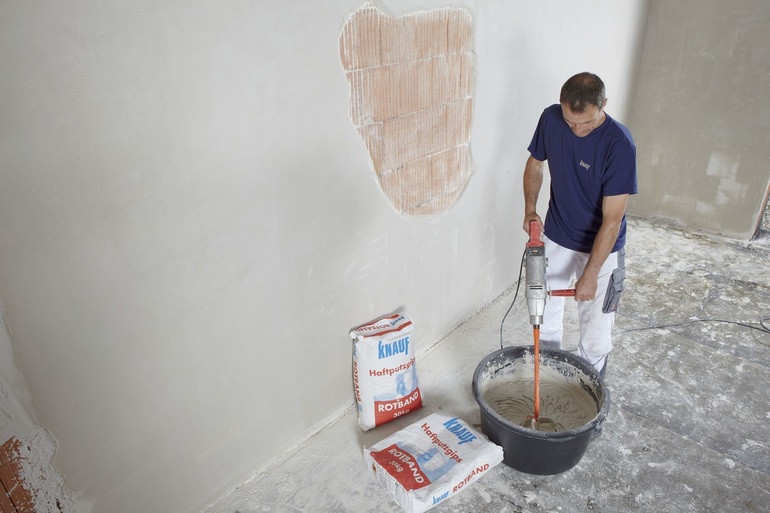
Sometimes the solution is prepared independently, while the dry mass is shut with water. The result of work on the wall does not differ in the first and second case, but finishing with dry mixes is much cheaper.
The amount of putty is calculated based on the consumption rate per 1 square with a thickness of 1 mm. The solution is applied in 3-5 mm, so the value is multiplied by the thickness of the layer.
Consumption is taken:
- for coarse-grained compositions (start) per square 1 mm thick requires 1.7-1.9 kg of dry mix;
- medium-grained mixtures - 1.4-1.65 kg per square;
- finishing putty leaves 0.95-1.15 kg.
Pour water at room temperature into the container, then add the dry component (not vice versa). Additional liquid is mixed in case of increased density of the mixture. The solution is mixed again after 2 minutes of waiting. At this time, you can put dyes, or they are applied directly to the wall after the layer has dried.
Wall application
For overlaying, a large spatula from 45 to 60 cm and a cape tool of 5-8 cm are used. The layer thickness is selected depending on the depth of the pattern, which is needed to obtain a textured plaster.
With their own hands, the solution is collected on the blade of the tool and transferred to the wall surface with sweeping movements. Excess layers are not superimposed, and the mass is distributed evenly. In this case, the entire surface must be covered at a time, so that the pattern is printed before the solution dries over the entire area.
If the size of the wall is large, then the texture should be applied so that the edge of the layer remains without a picture. On the second day, the connection of the layers is first made, then an imprint is put on this place.
Types of textured drawing
Decorative wall plaster can be made with various auxiliary devices that the master chooses at will. A master class using ordinary trowel is often used.
Drawing Techniques:
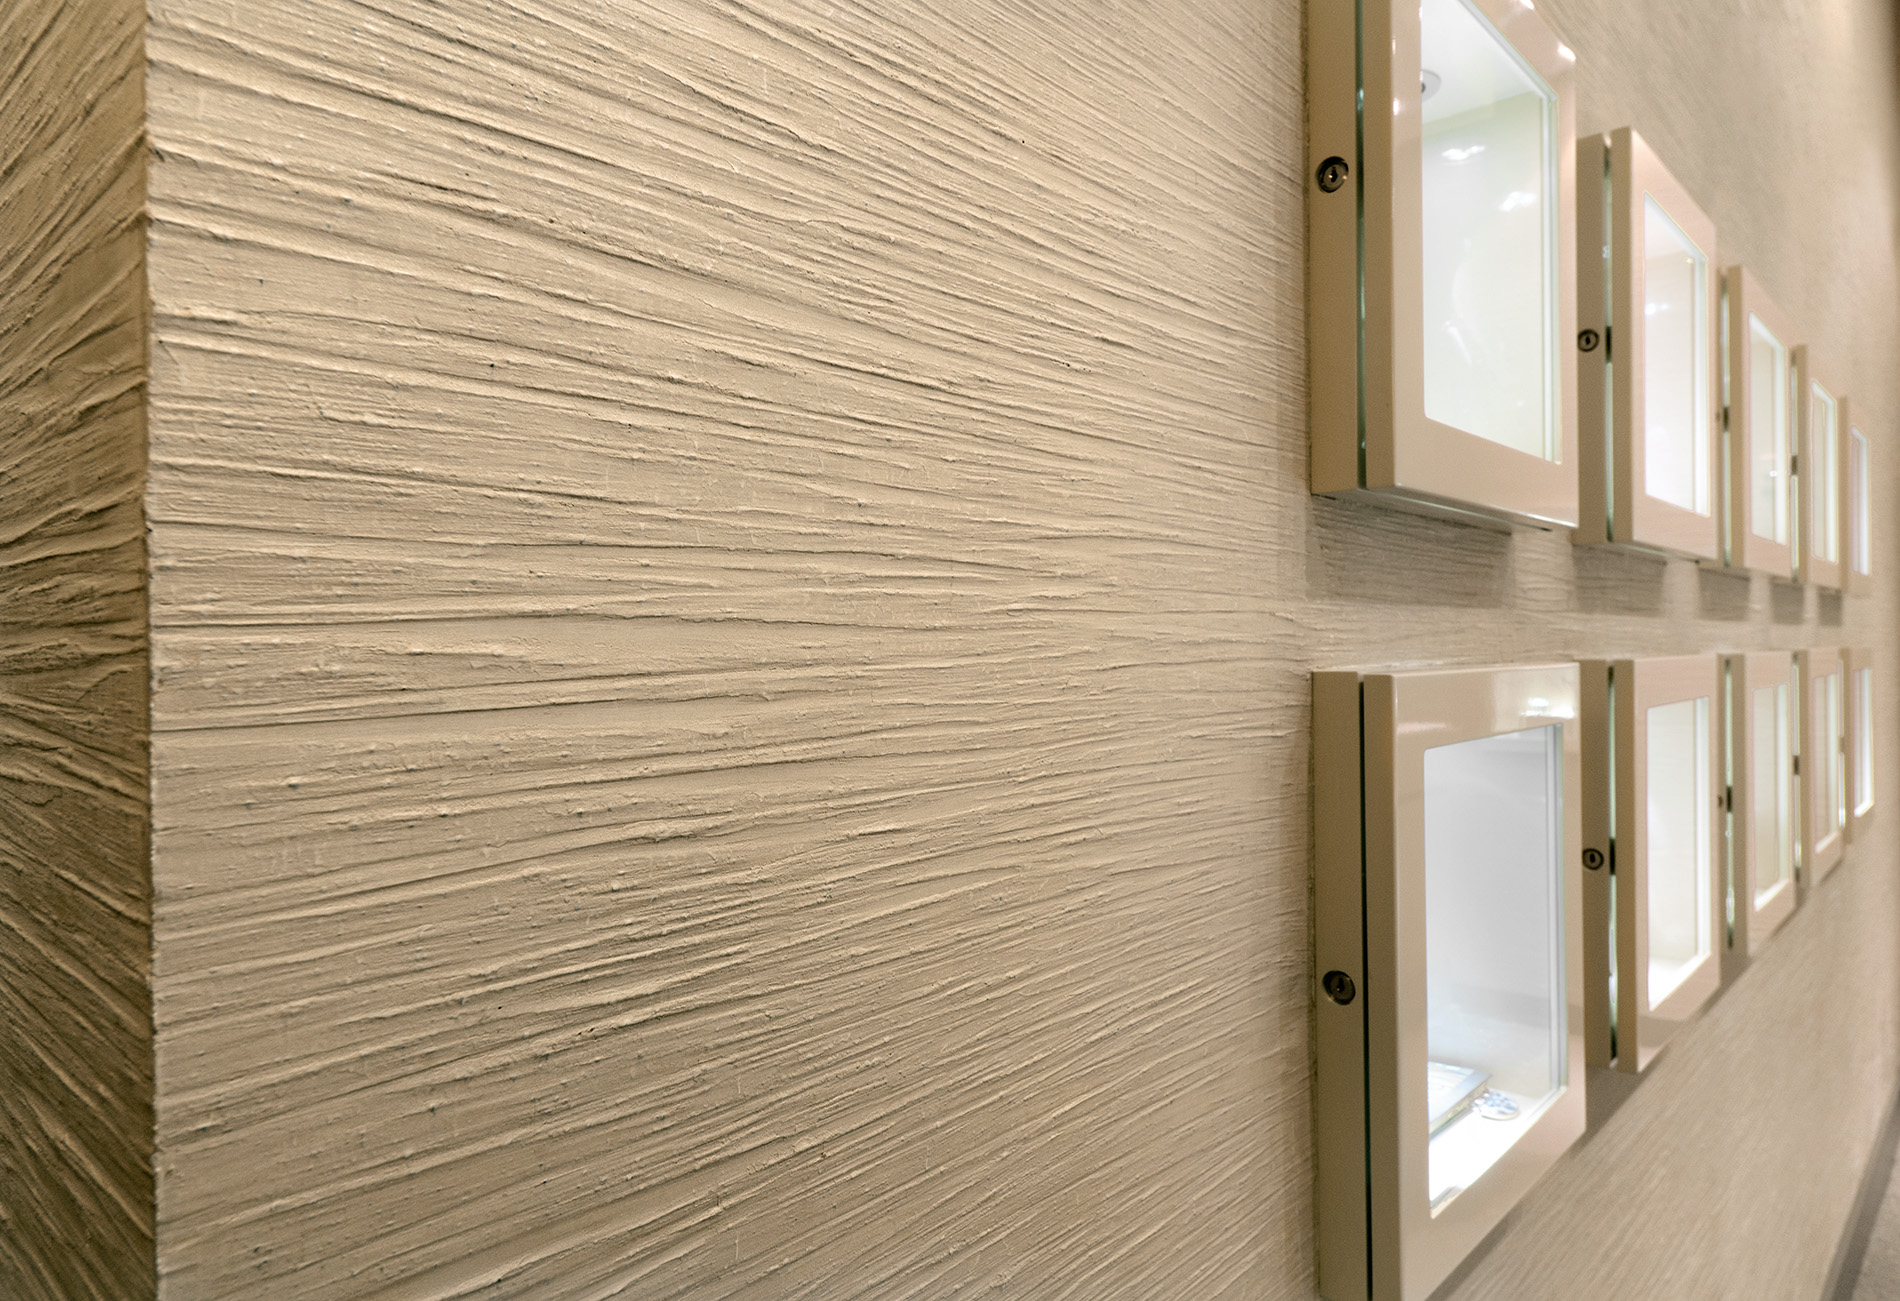
- Lines in the form of rain jets are obtained after grinding the surface in the vertical direction. Sometimes movements are done obliquely, but in parallel. So it turns out the pattern of drops under the influence of wind.
- An imprint that resembles curls of wool is made by circular movements of the trowel.
- The alternation of vertical and horizontal movements in a checkerboard pattern creates a pattern of carpet threads that are intertwined.
- If during the movement one end or the side of the tool is pressed in and the mass is slightly shifted, an imitation of the surface of the wild stone is created, which is multi-colored.
In addition to trowels, other items are used, for example, a comb, rubber spatulas with a cut edge.
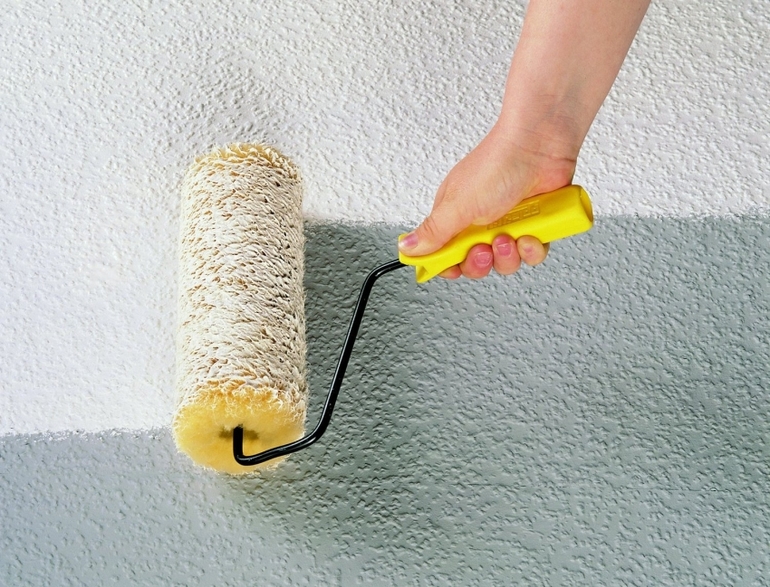
Foam rollers are well suited, a rag in a chaotic manner, fur, polyethylene, wire or rope are wound on them. The choice of device depends on the imagination of the master.
Art coloring
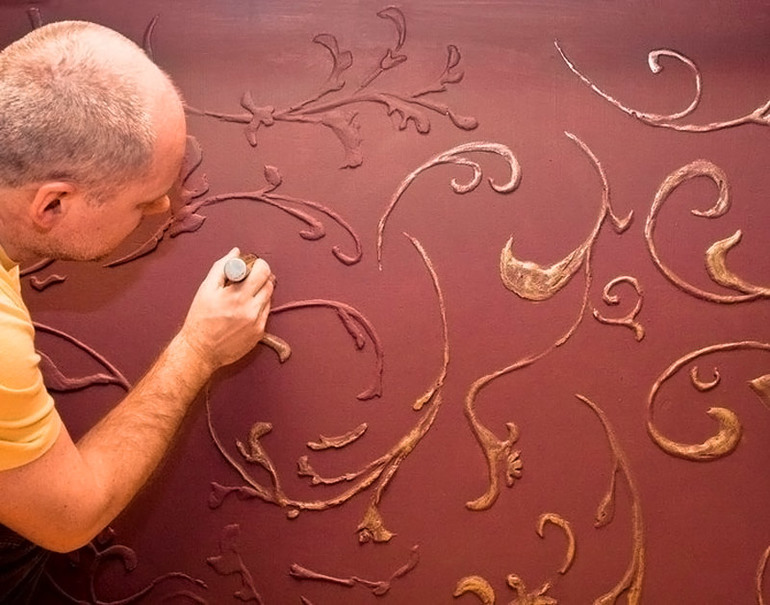
If sharp edges and differences remain on the area after the putty, the surface is sanded to smooth out the undesirable relief.
Wall primed, neglect of this operation leads to subsequent peeling of the paint. Colored formulations are applied only after the putty layer has completely dried.
Often the entire corrugated surface is painted with one color, while the decorative pattern is manifested due to the play of shadow and light. The second option is the layering of different colors. The first rolling is made darker and applied with a long pile roller for deep tinting of the depressions over the entire area.
The subsequent layer is made with a smooth velor nozzle, which easily passes along the surface so that only convex sections are painted. The use of a lighter color for the second layer enhances the relief.

Alas, no comments yet. Be the first!