To make the room seem lighter, its ceiling must be absolutely even and uniformly painted. For this, an acrylic water emulsion is perfect. Here are some tips on how to paint, so that the surface of the ceiling is perfect in appearance.
It is known that white acrylic water-based paint is excellent for the ceiling. It is affordable and quite durable. To obtain the desired color, a water-based color scheme is used.
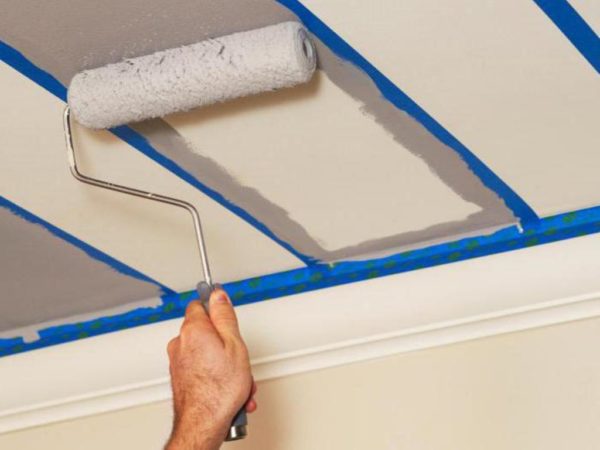
The paint is glossy or matte, gradation according to the degree of gloss (gloss), includes five steps. When choosing, you should know that matte paint looks great and excellently hides small defects in the surface.
Read more: How to glue fleselin wallpapers - step by step instructions
True, it is not resistant enough, it can be washed, but delicately. It is used mainly in dry rooms.
Glossy water-based paint, freely tolerates mechanical stress and is completely not afraid of moisture. It is suitable for bathrooms and kitchens, but is more expensive and requires a perfectly prepared surface.
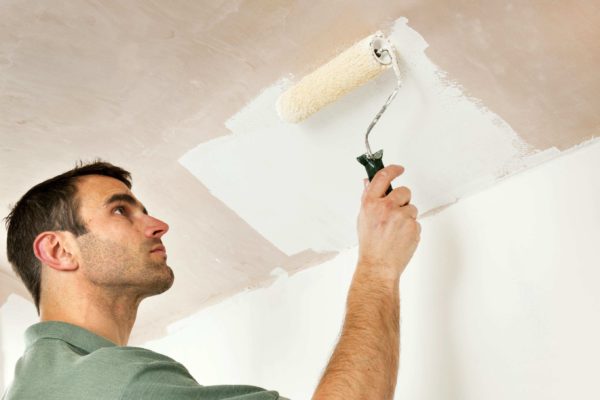
She does not hide all the flaws, but on the contrary emphasizes. In addition, during the next repair, it will be more difficult to remove.
Surface preparation
Before painting the ceiling with water-based paint, its surface is carefully prepared. If there are old coatings, then preparation begins with their complete removal. Any separating elements are removed: plaster, putty or wallpaper.

The cleaned ceiling is coated with a deep penetration primer. If the difference in surface roughness is within 2 mm, then a rough filler is enough to level it.
If there are more differences, plastering is necessary. Two layers of finishing putty are superimposed on the plaster, and fine sanding paper is ground.
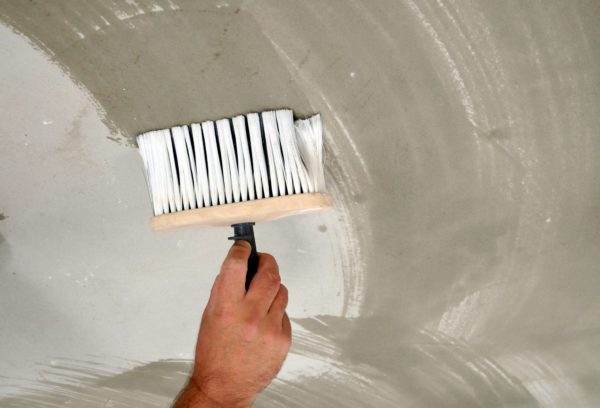
When one coat is completely dry, another can be applied. This takes about a day. Before grinding, you need to wait two days after applying the last layer of putty. Before painting, the primer is applied again.
Read more:How to choose plastic panels for walls and ceilings
It is necessary that the ceiling is absolutely even after the putty. Just polishing it does not work, it will be wave-like, even a height difference of only one millimeter in side light from the window will give dark spots on the ceiling. On the surface there should not be the slightest scratch from the abrasive.
Do not hope that they can be painted over. This will not happen, even a thick layer of water-based paint will not help. To avoid the rather laborious surface treatment with sandpaper, you can use non-woven wallpaper for painting.
Ceiling Painting Technology
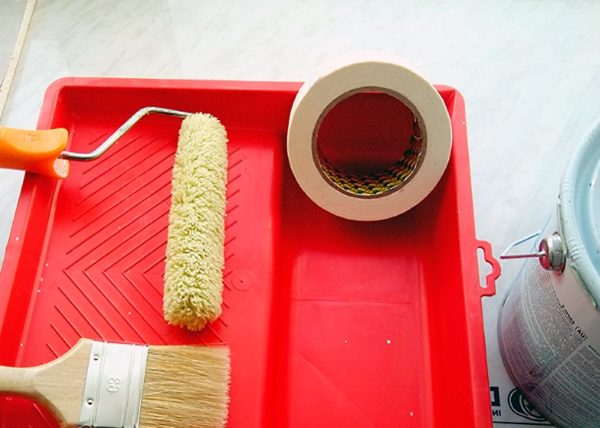
For work you need:
- large paint roller
- small roller
- a brush about five centimeters wide,
- telescopic extension handle
- bright light source
- bath for paint.

Before you start, you need to take care of the lighting. For this, a hand lamp is suitable. A brush or roller is held in the working hand, and in the other a bright lamp on the holder. Without good lighting, it is difficult to distinguish poorly stained areas.
Read more: How to glue the ceiling plinth
The joint of the ceiling with the walls is decorated with fillets. Regardless of their availability, painting starts from the wall.
Corners and all available decorative elements are painted with a brush.
The next narrow strip is applied with a short roller along the wall. After that, you can go to the main area of the ceiling.
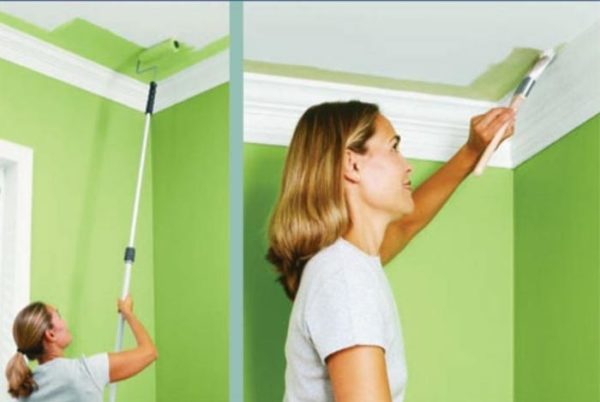
For this, a large roller with a firmly sitting long pile is perfect. It is abundantly wetted with paint and rolled out in the bath.
They start painting about five centimeters from the wall, overlapping with a strip painted with a short roller.
First, paint should be applied with a thick layer on the amplitude of the hand movement, gradually moving away from the wall.
You need to move away at an arbitrary distance, as far as there is enough paint on the roller. This will be the width of the paint strip, usually it is obtained within 1–1.2 meters. Thus, a stain of a thick layer of paint forms on the ceiling.

After this, you should return and with uniform movements of the roller forward and backward, roll out the stain on the ceiling.
The first painted strip will turn out. Each following is done exactly the same.
The minimum number of layers of water-based paint is two. The first layer lies at the wall farthest from the window, perpendicular to the flow of light from the window. The next strip lays with an overlap of several centimeters in the first strip, and then also to the window.
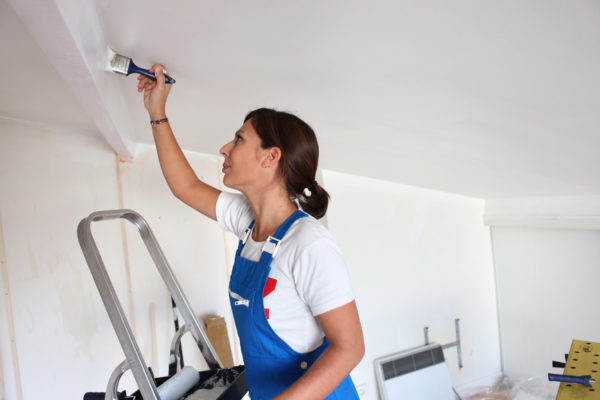
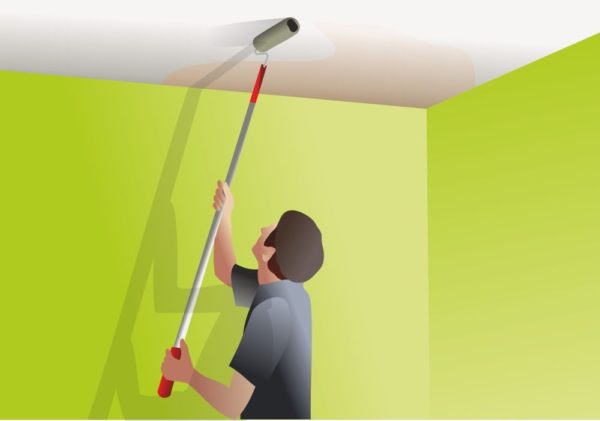
The strips of the second layer lie along the side walls, and always from the window to the far wall. They must be continuous, so you need to paint from the floor, holding the roller on the telescopic handle. Sometimes you may need two more of the same layer.
Read more: How to arrange a sofa and chairs (40 photos)
After applying each of them, from 1 to 3 hours is given for drying. At this time, the roller must be washed so that the paint remaining on it does not come in clumps.
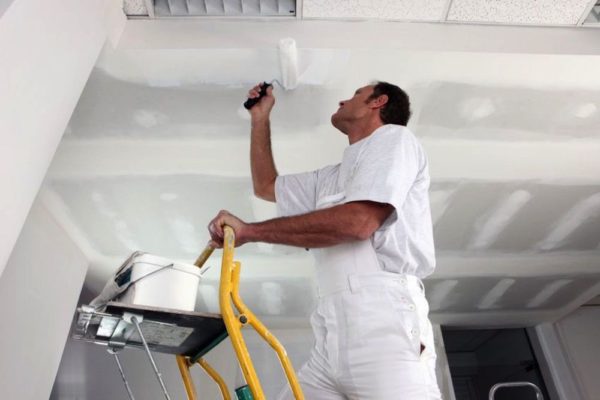
Useful Tips
In places where each next strip of paint overlaps with the previous one, inexperienced painters often have darker stripes.
To avoid this, you must adhere to one unshakable rule - do not let the edge of the previous strip to overlap be dried. For this, firstly, the paint should be sufficiently liquid.

It is normal if its consistency allows it to flow freely from the surface. Secondly, with a single coat of paint, the entire ceiling should be covered at a time, without interruption. No stops and rest.
Sometimes, if it is possible to install a portable hotplate in the room, water is boiled on it. Just to organize a strong evaporation and thereby humidify the air. This ensures that the paint does not dry longer.
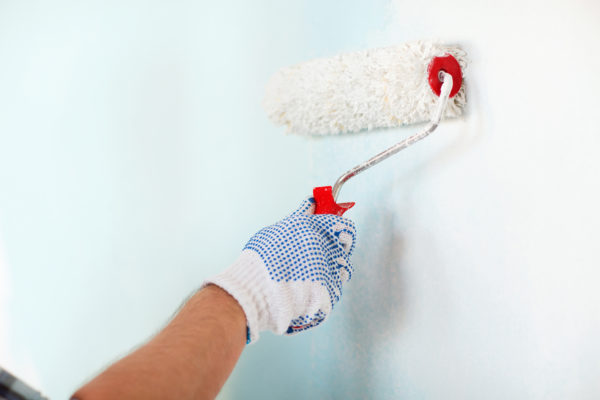
If you adhere to such technology and tips, the ceiling painted with a water-based emulsion will turn out to be ideal, without dark places, bumps and pits. It will easily retain this look for several years.

Alas, no comments yet. Be the first!