
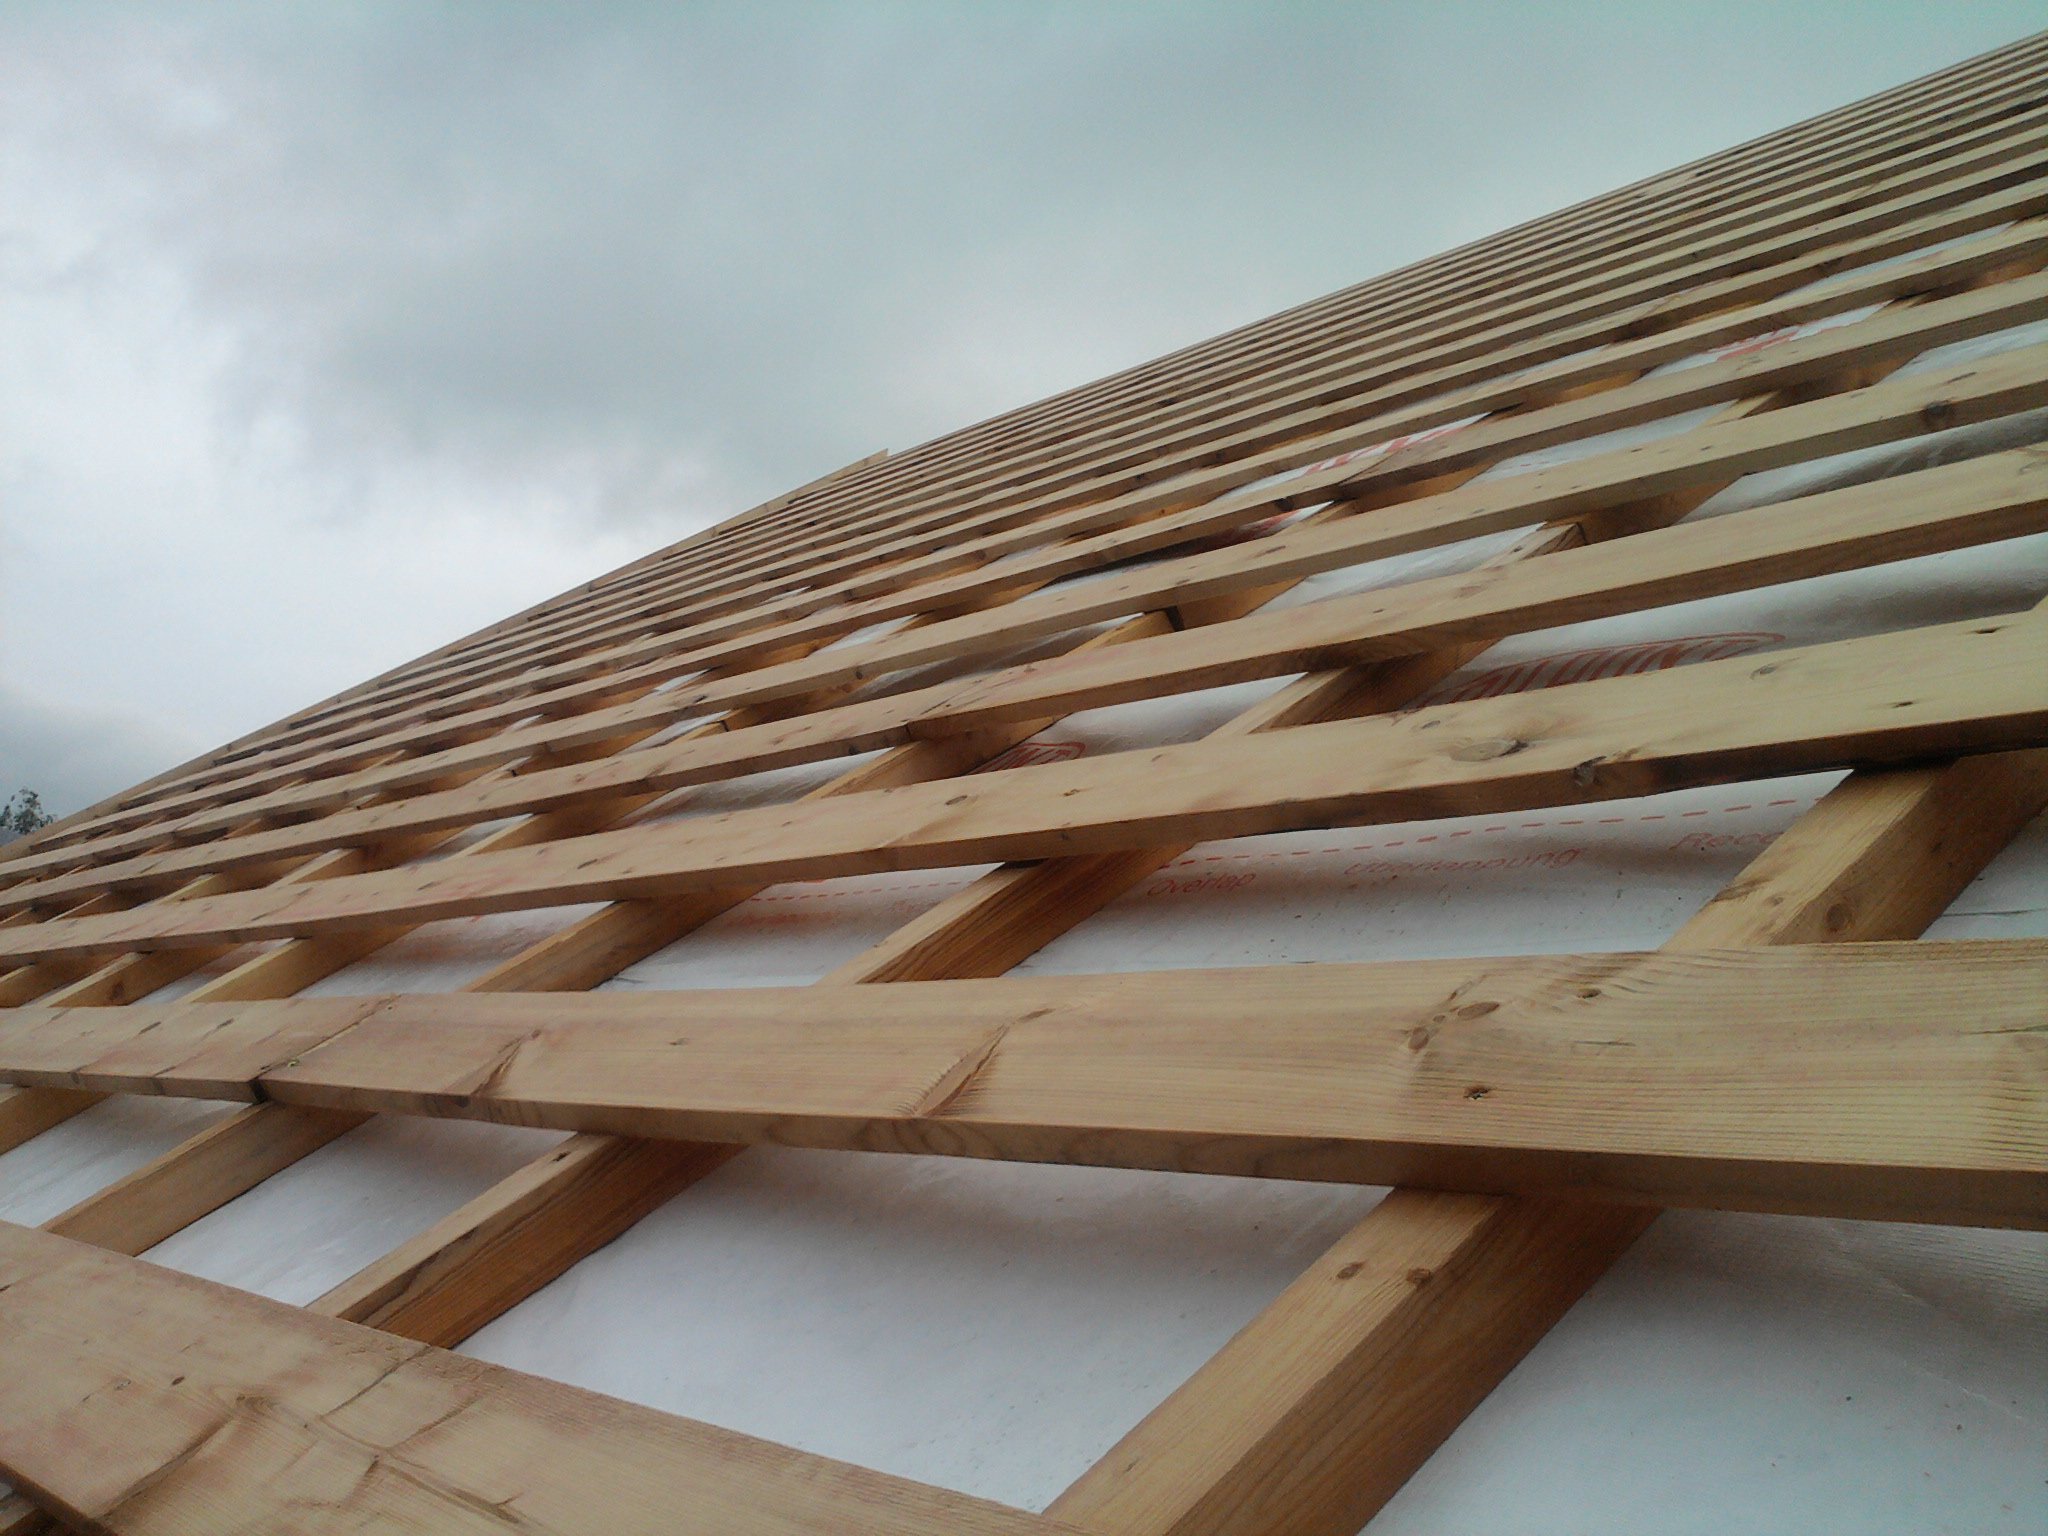

The basis for the installation of roofing material is the crate. With its device, it is necessary to observe many nuances and subtleties. That is why the crate for metal should be performed if not by professionals, then using professional instructions.
First of all, you need to understand what a crate is. This term is used to designate a structure of beams and boards attached to the rafters perpendicularly. The lathing under the metal tile takes on direct load from the roofing material and transfers it to the rafter legs, and then to the supporting structures of the entire building.
For the construction of the crate, the following types of materials are used:
- tes;
- timber;
- boards;
- plywood.
There are several types of crate structures.
- Discharged.
- Solid
Single-layer - structural elements are laid horizontally on the rafters, with the boards parallel to the ridge.
Double-layer - a double layer of crate flooring is assumed. In this case, the second layer in the direction of the ridge along the overhang, sometimes the bars of the second slope are laid diagonally on the first slope.
Content
Theory of the device of the lathing under the metal tile
Before the process of laying the roofing, care should be taken to create the best conditions for a durable and reliable flooring, since the construction of any type of roof requires a crate with a different pitch. Boards for a counter-lattice under a metal tile can have different thickness. So, when buying material for a crate 30 mm thick, in fact you will get elements whose width will differ from the claimed within 5 mm.
This phenomenon is almost always observed. An exception is only a calibrated planed board. That is why, preparation for the installation of the battens for laying metal tiles involves the calibration and alignment of boards.
Such a procedure makes it possible to exclude from adjacent rows and joints lattices differing in width and thickness of the board. Since the use of different-sized boards, significantly varying in size, will lead to difficulties when laying metal tiles.
Using a board 30 mm thick allows you to have a margin needed when sawing, able to reduce its thickness.

The board must support the weight of even a large person. After all, during the construction of the roof it is planned to walk on the boards. Unedged or semi-edged boards are not recommended for use in the construction of crates.

The step of the crate under the metal tile should be carried out according to the following rules:
The distance between the elements of the bars of the battens is indicated in the instructions for the types of roofing. It is counted from the top of one board to the bottom of the second board.
The step of the crate is selected in accordance with the type of metal tile, since different steps require a different step.
Between the first two boards of the crate, the step value should be less than the elements of the bars.
The pitch of the roof slope affects the step of the crate under the metal tile, as well as the magnitude of the roof overhang for the extreme crate bar.
The calculation of the step of the crate can be affected by the presence of a drainpipe, which can have a different width and configuration. When fixing the drain to the frontal board, it is nailed to the ledge. An important role is played by the diameter of the gutter.So, for example, with a gutter diameter of 9 cm, a protrusion of equal size is required, at 12 cm - larger.
The protrusion of the roofing material begins to be calculated either from the rafter cut or from the frontal board. Thus, the steeper the angle of the roof slope, the lower the metal should be lowered in order to align the length of the protrusion. If the calculation is incorrect, then the metal tile lathing may not be located where the metal tiles should be fixed with self-tapping screws.
Between two boards, the distance is calculated using the level. Next, the distance from the top point of the very first wave to the edge of the bottom of the sheet of metal is measured, make a mark.
Next, it is necessary to determine the position of the roof sheet by level, place the square at a right angle to the frontal board and set aside the point of the necessary ledge. Next, bring the level to this point.
From the very edge of the frontal board it is necessary to draw a line vertically to a previously set level and make a mark. Between the two marks made, a certain distance will be obtained between the bottom of the first board and the top of the second board of the crate, taking into account the protrusion of the roofing material and the slope of the slope.
The first plank of the crate should be made thicker, as this will help to avoid a hanging ledge when fixing the roof material.
The length of the other boards of the battens during the erection of the roof is measured from the top of the second board at regular intervals, corresponding to the roofing profile. Marks must be applied through several rafters, as in the end the board may turn out to be a curve. In this case, you will have to apply measures to level it, so that the roof lies firmly and evenly.
After the first three or four rows of crates are finished, the rest of the boards, for convenience, can be laid on a ramp.
Boards located in one row of the crate should be connected on the rafters. Do not lap boards under the roofing material. The difference in the joints must be made on the rafters.
We draw your attention to the fact that the crate should be joined on one rafter. This will ensure structural rigidity.
Also, do not forget that the laying and calculation of the crate must be done from top to bottom. And also take into account the length of the remainder of the roofing material.
We draw your attention to the fact that the crate should be joined on one rafter. This will ensure structural rigidity. Also, do not forget that the laying and calculation of the crate must be done from top to bottom. And also take into account the length of the remainder of the roofing material.
Installation of the lathing under the metal tile: step-by-step instruction
It is necessary to choose a bar for rafters of the following size: at least 5 by 15 cm, and under the crate at least 2.5 by 10 cm. For a counter-lattice, a 2.5 by 5 cm board is ideal.
The rafter step for performing the crate should be about 6-9 cm.
The initial board is beaten strictly along the eaves so that it does not go behind it.

Please note that the thickness of the first board should be a couple of centimeters more than the rest. This is necessary to compensate for the level of support points of the entire tile module.
The step of the crate elements is supposed to be such that the distance between the first board and the cornice is at least 5 cm, and between the subsequent ones - 30-40 cm. Between the rest of the boards, the step of the crate should be equal to the step of the profile of the metal tile, i.e. 35-40 cm.
In order to check whether the distance between the first two boards of the crate is correctly selected, it is necessary to lay two plank cuts on the ground, parallel to each other and at a certain distance, tile elements are laid on them and it is determined whether the roof protrusion is sufficient for water flow. If the protrusion is too large, water may spill over the edge of the gutter. Too small a ledge will cause the water to be blown by the wind between the windshield and the gutter.In addition, there is some likelihood of deformation of the sheets under load from snow.
Marking must begin with the first board facing the ledge. Perform e with a tape measure.
Next, fix the ridge and end plates.
Above the crate, a wind board should be arranged. Depending on the type of tile, the height of the sheet can vary from 3.5 to 5.5 cm.
In the places of fastening of the ridge, for greater strength, additional boards are clogged, with a section of 3 by 10 cm. This should also simplify its further installation.
In the process of planning an organized drain, before starting the installation of roofing material, it is necessary to install brackets to secure the gutters. Cornice punk is mounted before installing metal tiles on the roof overhang.
To begin with, it is necessary to determine the places where the bracket is fixed, which are fastened in increments of 5-6 cm and fastened to the bottom of the crate.
Next, the extreme brackets are mounted so that the slope is 5 cm per 1 m of length, after which the level thread is pulled to smoothly install the entire system of brackets.
The gutter is inserted into the brackets and secured. The cornice strip is fixed to the crate in such a way that the edge of the gutter is overlapped by the edge of the strip. It is such an overlap that is able to provide condensate drain from the bar to the gutter. The overlap length must be at least 10 cm.
The device of the lathing under the metal tile: continuous crate option

In construction, a solid type of crate is used. It is laid out with the help of bars, between which there should be 1-2 cm gaps, and in the discharged crate - about 3-5 cm. In addition to the metal tile, the continuous crate is also suitable for various types of soft roofs and various types of natural slate.
Please note that the continuous crate should be located on the overhangs of the eaves and on the ramp intersections of the roof (ribs, valleys, skate).
Before starting the device, a continuous crate should take care of the anti-condensation film. If, according to the plan, the roof construction provides for insulation (as in the case of a residential attic), then it is necessary to use a film to protect the insulation from condensation and blowing. If you do not use the film, most likely the attic will turn out to be cold and damp. Since the rafter structures and the crate will remain unprotected from environmental influences.
We also draw your attention to the fact that the selected film should be laid on top of the rafters, from the bottom of the roof.
Horizontal stripes overlap each other with an overlap of about 15 cm. Also, do not stretch the film. For its better functioning, sagging by several centimeters is necessary. The film is fixed along the rafters with special bars, the width of which, in cross section, is equal to the width of the rafters themselves, and the thickness, at the same time, is at least 4 cm.
After the installation of the film flooring over the entire roof is completed, the next step is the installation of the crate for the metal tile, on which the metal tile will subsequently be fixed. In the case when the roof structure does not provide for flooring of the film insulator, then the horizontal crate is mounted directly on the rafters. Boards used for the device crates should be treated with antiseptic solutions and have a cross section of about 3 cm. Any so-called inch board is suitable here. It should be borne in mind that the boards must be adjusted both in length and in thickness. It is on this that the even position of the roof elements depends. However, the lowest board should be a couple of centimeters thicker than the rest.
The first board should be attached at the bottom of the rafters. The boards must be fixed in several places with the help of self-tapping screws or nails, this is necessary so that they do not turn out. The step of the pre-flooring can be equal to the step of the wave of tiles, or be continuous, without gaps. In the case of their curvature, the fixing of the sheets of metal will be complicated.
Properly executed crate can significantly reduce the percentage of noise arising from exposure to wind, rain and other weather disasters.
In the same way as in the case of a discharged crate, a continuous crate is completely covered with a layer of film waterproofing. The end of the film is fixed along the roof cornice so that it hangs and completely covers the roof surface.
We draw attention to the need to leave a distance between the expanded film and the rafters. This distance should be about 2 cm. On the top of the waterproofing, bars should be fixed on which a layer of the counter-lattice is later laid.

Bars should be taken with a minimum cross-section of 4 by 2.5 cm. The next layer after the counter-lattice is the beater. In this case, you should carefully consider the calculation of the pitch of the metal wave. And it is at this distance that the bars of the crate should be placed.
The board facing the cornice should be installed several tens of centimeters wider than other boards for the crate.
The end strip of the lathing is arranged above all other elements of the lathing approximately to the height of the metal tile sheet.
At the ends of the ridge planks, a couple more boards should be laid in addition, carefully fixing them. This is necessary to enhance the strength of the structure.
In the rafter system, the ridge board must be securely fixed.
The gutter for the drain is attached to the lowest board of the roof lathing.
In places near the valleys, pipes and around the perimeter of the auditory openings and dormers, the counter-lattice is laid by the continuous method.
For internal and external cladding, it is advisable to use anodized galvanized self-tapping screws or nails during roofing. From ordinary nails, during the first rain, the lining will be damaged.
After the work on the construction of the crate is completed, they proceed to the installation of the metal tile.
In conclusion, some tips for building from a tree:
- boards should be treated with antiseptic, refractory materials;
- after the laying of the boards is completed, make sure that the coating does not have any sag, tubercles or protruding hats from self-tapping screws and nails;
- the finished crate should be so strong as not to bend under a person;
- for the manufacture of flooring, it is worth using wide boards;
- it is necessary to use well-dried material;
- the joints of the boards on the rafters should be staggered;
- boards should be nailed around the edges, and the hats should be recessed in wood;
- Responsibly should approach the purchase of building material; check boards for distortions, cracks and other structural changes.
As a result, the construction of the crate is not a complicated process, but a responsible one. The quality and durability of the roofing material depends on how well the installation is done.
For construction it is extremely important to choose high-quality material. Thus, if you use raw boards, the fasteners will not last long and will quickly become loose. Since the boards are subject to shrinkage, over time, during the drying process, they will change in size.
In addition, a structure made of low-quality material is more susceptible to damage from snow loads.
Alas, no comments yet. Be the first!