
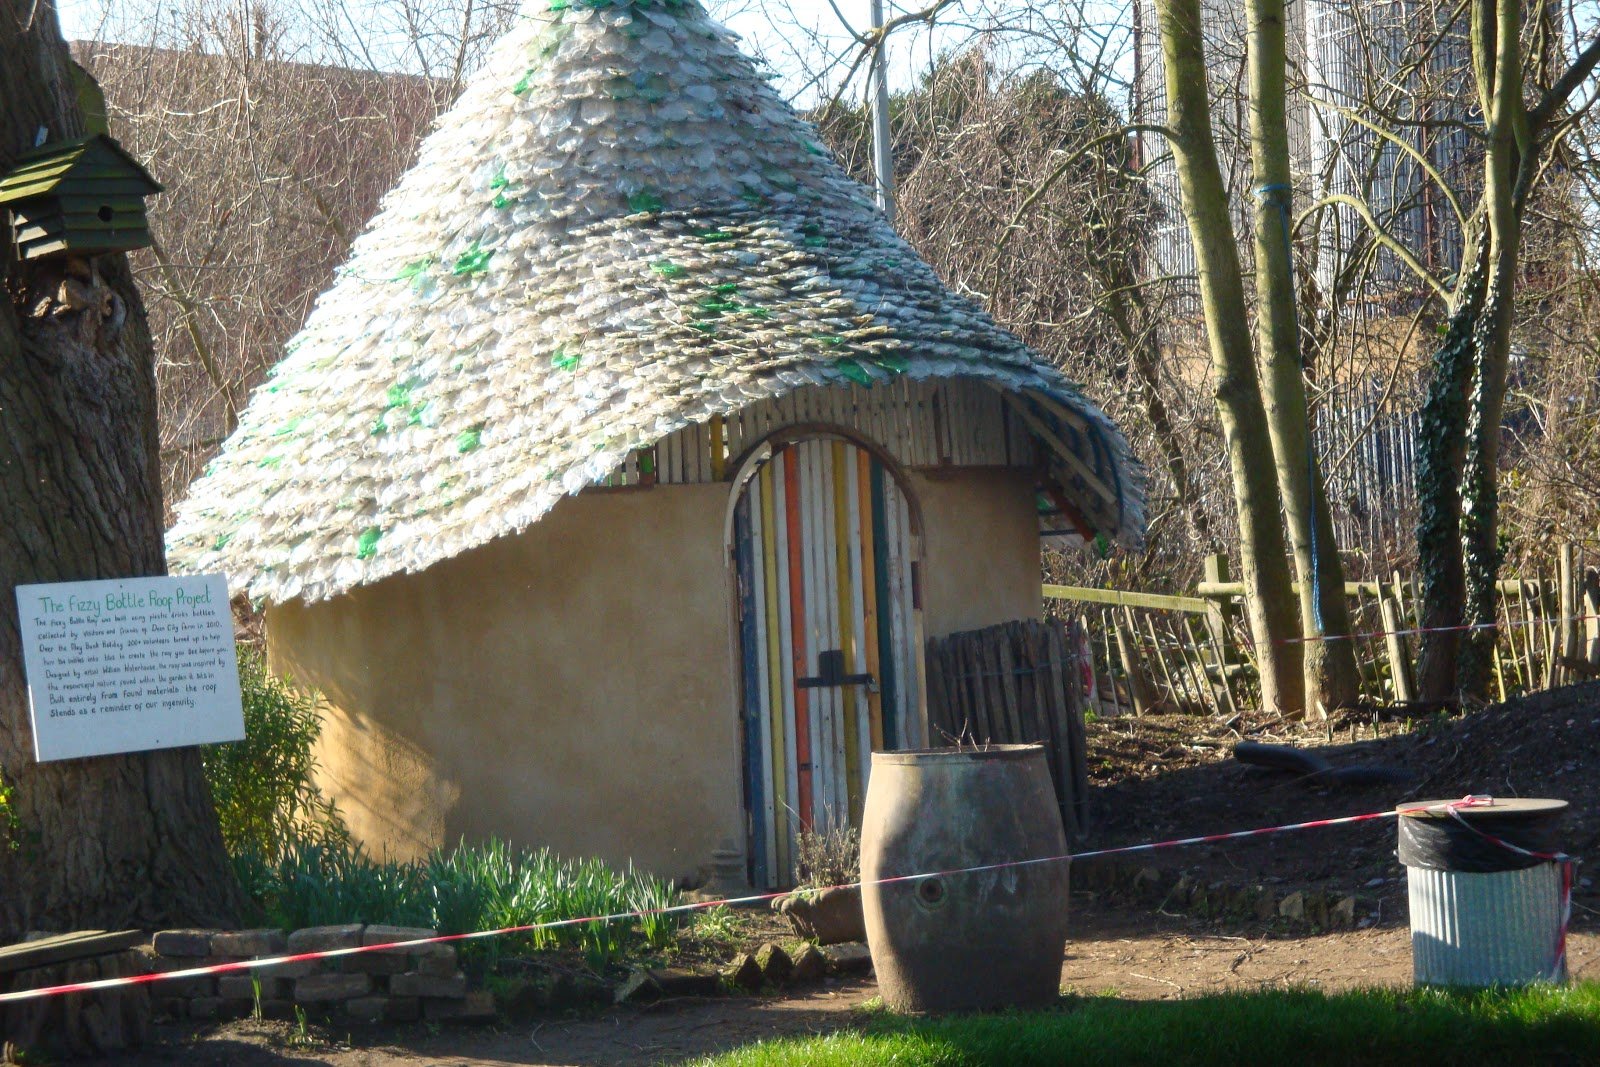
What application do plastic bottles not find in the hands of craftsmen! Of them make complex decorations for the garden - vases, palm trees, arbors. This material is also used to create simple scoops, as well as in jewelry. But one of the most interesting areas is the use of plastic bottles as a roofing material. To build such a roof is quite possible with your own hands.
Content
The advantages of plastic bottles as a roofing
It is worth noting the advantages that distinguish plastic bottles:
- Low cost. It is possible to purchase empty plastic bottles from manufacturers, but the use of containers that are already used will be an even cheaper option. Such materials can be asked to leave for you, for example, in a cafe or with friends. This will help reduce the cost of building materials.
- Durability. Plastic bottles are able to withstand the effects of heavy loads and mechanical shocks.
- The possibility of reusable use.
- Ease of use during construction work.
- Longevity. It is worth noting that, unlike other building materials, plastic bottles have a longer service life - about three hundred years. This is many times higher than the characteristics of existing analogues.
Instructions for the construction of the roof of plastic bottles
There are several options for creating a roof structure using plastic bottles. It should only be noted that it is better to work if all the material has the same size.
Material preparation
- Using a knife, it is necessary to cut off the bottom and neck from the bottles to get an element that looks like a tube.
- The resulting part should be cut. You need to do this so that in the end you get sheets having a size of about 25x30 centimeters.
First way
- The resulting sheets must be straightened. This can be done using hot water, or else put all the sheets in a pile by placing them under a press or under a carpet. Another option might be to use an iron.
It is not necessary to use a very hot iron, but it is better to iron plastic sheets through paper.
- When all the sheets are straightened, you can proceed to the process of fastening them together. To do this, you can use glue based on dichloroethane. Such a fixing composition will allow you to create a high-quality connection, and working with it is quite simple. The glue will melt the plastic elements, allowing them to be fastened together.
- The connection of the prepared elements can also be provided with a hot iron, melting the workpieces through thick paper.
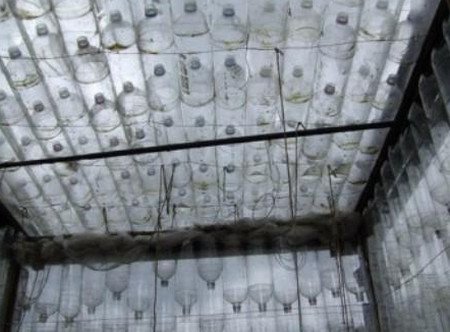
- After you have prepared several sheets having the desired size, they proceed to fasten them with a stapler. Do this on a wooden frame, which must be prepared in advance.
- This wooden frame will be the basis of the roof. To create such a design, you can use plastic bottles that have different shades. Collecting colored mosaics from pieces will make the roof more interesting.
Second way
- This option involves the use of plastic tubes cut in half. The product does not need to be straightened. You will need twisted elements that need to be folded in half.In this case, if the semicircle is untwisted back, we get an even designation of the place of the bend.
- After the work should be an element that looks like two slides.
- Next, you need to do the same with the second sheet. It is placed on top of the starting element. You need to do this in such a way that the final design resembles three slides.
- After adding the third sheet in the same way, you should get one slide more, that is, four. Thus, the entire roof structure is filled.
- The fastening of the elements is carried out along the edge. The work is carried out with a stapler.
- This method of manufacturing the roof of plastic bottles resembles the appearance of a tiled coating.
- Installation is made in stripes. After installing one proceed to the other. The second strip must be attached to the first overlap, placing it a little higher.
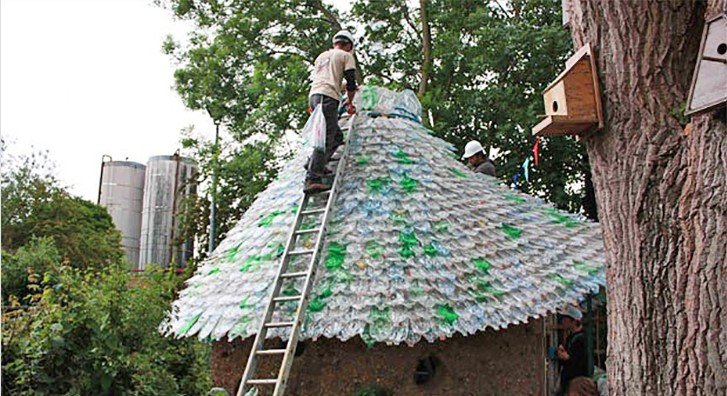
- Finished strips of plastic construction are fixed on the roof, starting from the bottom and moving up - from the edge of the cornice to the ridge.
- At the same time, the roof ridge of plastic bottles is made in the same way, preparing the elements and securing it at the top.
- Laying the top layer of plastic products is carried out in different ways, in contrast to the slope of the roof:
- with a sloping roof, the last layer of home-made tiles is fastened in such a way that the upper parts come on the wall, protecting the junction of the wall and the roof;
- in case the roof has two or more slopes, it will be necessary to close the joints of the slopes with the help of an additional series of parts, fixing them at both ends of the different planes of the gazebo roof.
Some recommendations
- The roof is best done with a slope to ensure the flow of water from the plastic coating.
- When straightening the elements under hot water, it is necessary to immerse the product in liquid for three to five minutes, and then put it under the press for one or two days.
- Installation works are carried out using a construction stapler. But a better way is to use an awl and a nylon or cordon thread. This mounting option will provide a longer roof life, adding additional resistance to wind loads.
- It is convenient to lay the plastic coating on plywood sheets, fixing the structure with self-tapping screws.
- To prevent leakage of plastic roofing material, rubber pads must be used.
Alas, no comments yet. Be the first!