
Question
The question is: I saw in the store packing soft tiles with a diameter of 3 meters. What do these 3 meters mean? The area covered by this material, or the area of the material itself in the package? I have an octagonal garden gazebo, how many tiles will it take to cover it, if you take into account the trimming of the material? I have a roof with an area of 16 square meters, and the angle of inclination is 40 degrees. (October 25, 2013, Konstantin)
Answer
Before buying a roofing material, make sure its properties. Flexible tiles are sold in packages with a diameter of 3 square meters, but the material itself covers an area of 2. 57 m ?. This means that the area of the clean material is indicated on the package, and not the diameter with which this material can be covered.
It is important to correctly calculate the roofing material. If you buy packaging, then the area of useful material is equal to 2.57 m ?. Next, divide 16 by such a number, we get approximately 6.67. Please note. That the material will have to be cut, so get 9 square meters of tile.
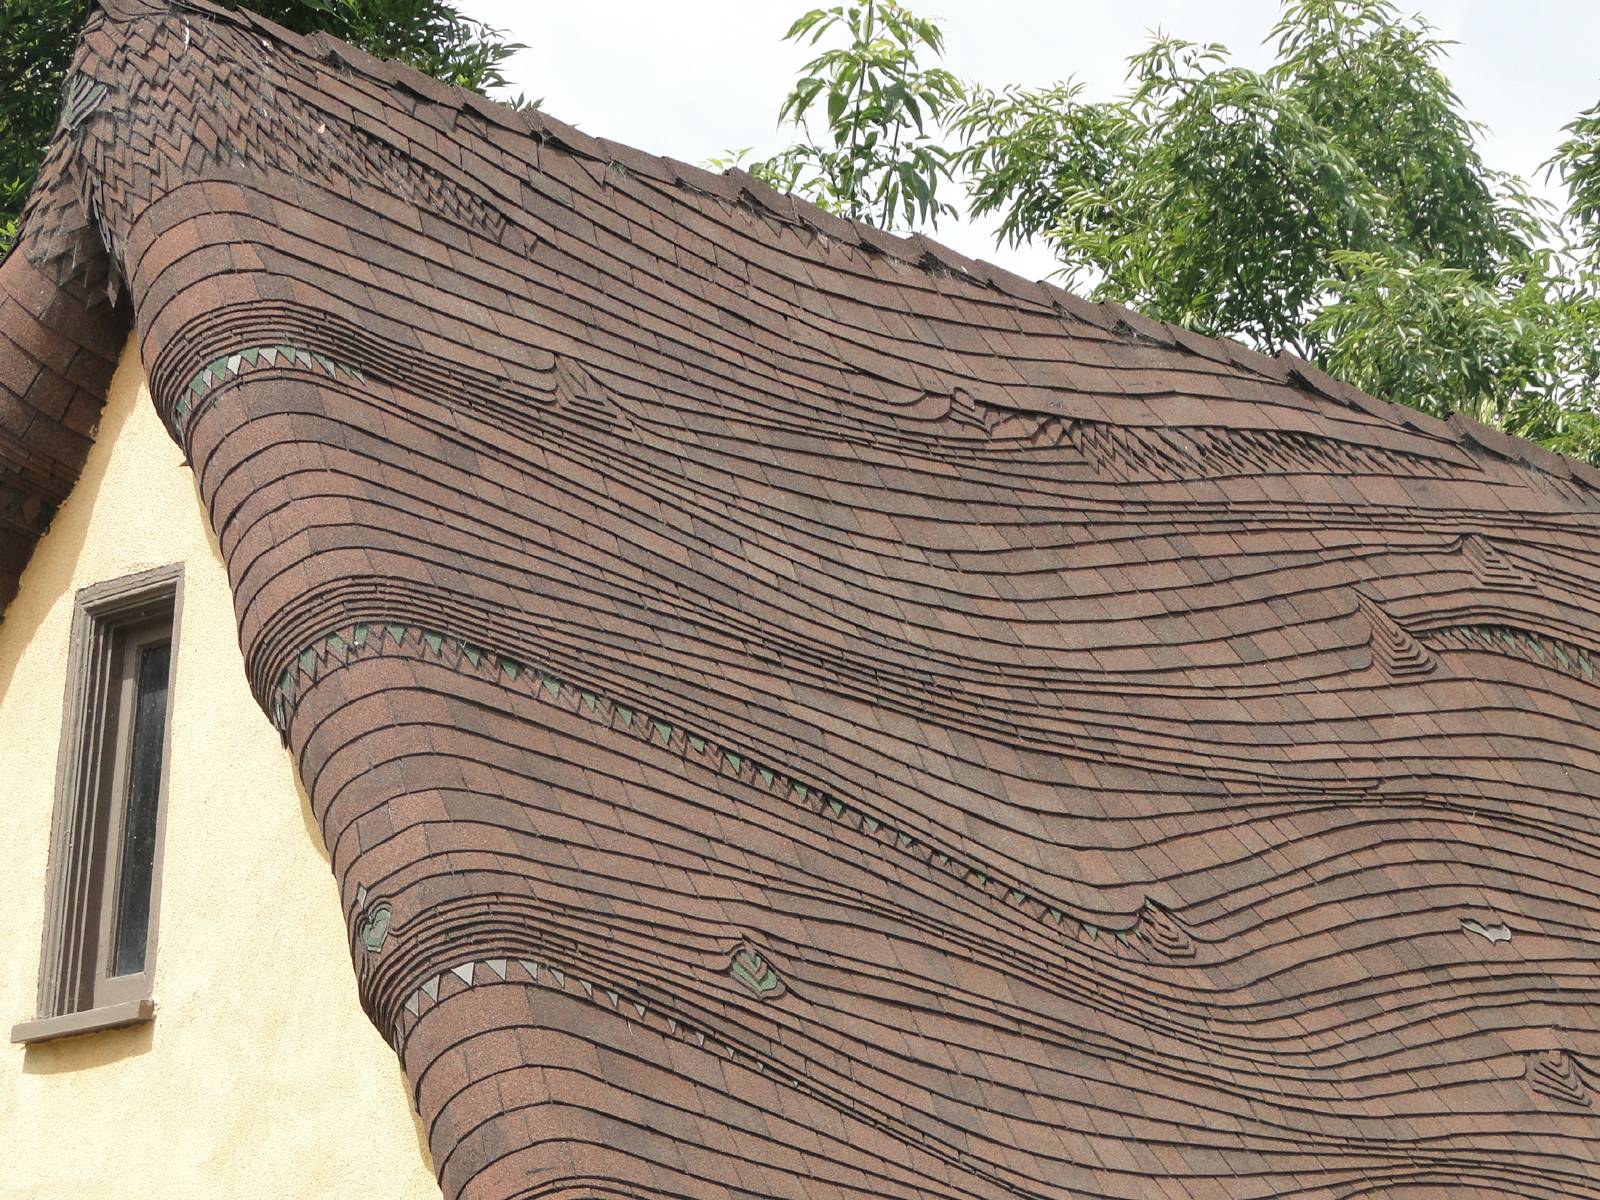
After all the computing operations, we install the material on the roof. You can mount soft tiles on your own, this does not require special skills and training. And now we will instruct you about installing soft tiles.
First, prepare the surface before starting work. The base of the roof must be tight, rigid, with good ventilation, otherwise you will not get a roof with good performance. The best material for the foundation has always been and remains moisture resistant plywood, or boards. We note that the material should be wet at 20 percent of the mass of the material in its original state. The joint of the plywood board is located in the place of support. The length of such a board should be at least two spans from the size of the support.
Then we build a rafter farm. If the thickness of the plywood is different, then the rafter base is also installed differently. If the plywood thickness is 12 mm, then the pitch of the rafters should be 600 mm, and the plywood 18 mm - 900 mm, if you have a plywood thickness of 21 mm - then the construction step is 1200 mm.
After that, we mount the cornice, end part and valleys. To do this, lay ours. Make the interval between the nails at least 10 cm. Then in the valleys you need to put the adhesive tape over the entire diameter of the roof. We take a tape at least 10 cm wide.
After that, a roof tile is installed on the roof passages, and an ordinary ventilation pipe or chimney acts as a passage. Roof tiles can be placed on a vertical plane and laid to the roof. Then we glue the pipe so that it is closed with a tape of 30 cm, and 20 cm are free.
We install the skate using the tiles for the skate. Tiles come in this size - 0.25 to 0.33 meters. Each tile must be cut into three parts, or sawed in the right place. Then a short part of the tile is glued parallel to the ridge.
So, we have explained to you the features of calculating the volume of material and the installation process. Everything is easy to calculate and do.
Svetlana
"So get 9 square meters of tile" or correctly 9 packs?
Michael
“Flexible tiles are sold in packages with a diameter of 3 square meters” A good answer from a Russian engineer ..)))